
Sea Life Candy Cups
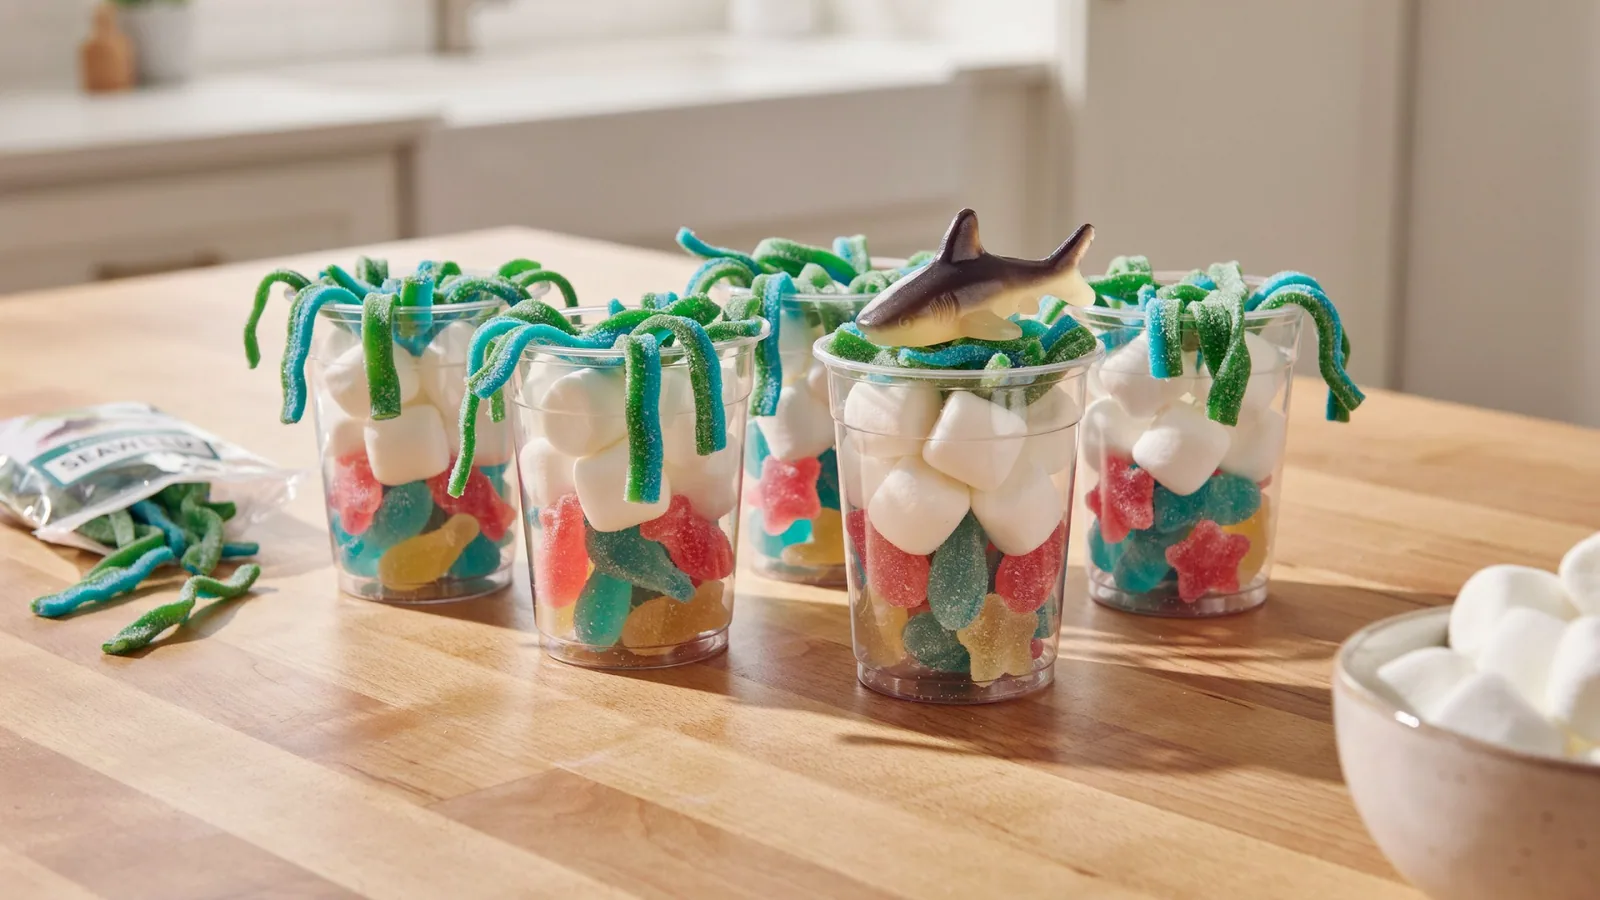
This is an assembly project, not a recipe that needs pretending to be complicated. The useful trick is to create height at the back, then use the brighter gummies and wavy sour strips to fill the front without overloading each cup.
Ingredients You’ll Need
- 12 sour candy strips in ocean colors (blue, green or pink)
- 18 large marshmallows
- 24 star-shaped gummies
- 18 sea-life gummies, such as fish, sharks or sea creatures
How to Make Sea Life Candy Cups
- Step 1.
Set out 6 small paper snack cups and 24 short food-safe party picks. Sort the candy by type before you start so assembly goes quickly.
- Step 2.
Fold or wave 2 sour strips onto 2 separate picks for each cup. Do not pack the folds tightly; loose curves look more like seaweed and are easier to eat.
- Step 3.
Thread 3 marshmallows onto a pick for each cup. Add 4 star gummies to another pick, then thread 3 sea-life gummies onto a final pick if you have enough room; otherwise tuck the sea gummies directly into the cup.
- Step 4.
Build each candy cup with the marshmallow pick toward the back for height, then add the sour-strip picks and gummy picks around it. Adjust the pieces so the colors are visible without crushing the candy.
- Step 5.
Serve the same day for the best texture. If making ahead, cover the finished cups loosely and keep them at cool room temperature away from heat and humidity.
Sort the candy before you build anything
Put all six cups out at once, divide the candy by type and count the picks. Working assembly-line style makes the cups more consistent and prevents the first two from using half the gummies. Candy sizes vary by brand, so the quantities are a starting point rather than a reason to force an overcrowded pick.
Make party food easier.
Get practical recipes, useful swaps and seasonal ideas delivered to your inbox.
Build height first
The marshmallow pick goes toward the back because it is pale, bulky and tall. Then add loosely folded sour strips on either side as “seaweed.” Finish with star and sea-life gummies toward the front, where their shapes and colors are easiest to see.
A small snack cup works better than a tall drinking cup: it supports short picks and makes a modest amount of candy look intentionally full.
Keep the sour strips loose
Do not pleat the strips tightly. Relaxed waves look more like underwater plants and are easier to pull from the pick. If sour strips are unavailable, sour belts cut lengthwise into narrower ribbons give a similar effect.
Scaling is just counting per cup
For a larger party, build one finished cup first and use it as the visual model. Then multiply the candy quantities by the number of cups you need. This is more reliable than buying a random number of bags because gummy sizes and counts vary so much between brands.
Make them the day you serve them
Cover the finished cups loosely and keep them at cool room temperature. Refrigeration can make some gummies and sour candy tacky, while a hot or humid room can make pieces slump and stick together. For younger children, skip the picks and use only age-appropriate candy pieces directly in a shallow cup.
Sea Life Candy Cups
Ocean-themed candy cups with sour strips, marshmallows and colorful sea-life gummies.
Ingredients
- 12 sour candy strips in ocean colors (blue, green or pink)
- 18 large marshmallows
- 24 star-shaped gummies
- 18 sea-life gummies, such as fish, sharks or sea creatures
Instructions
- Set out 6 small paper snack cups and 24 short food-safe party picks. Sort the candy by type before you start so assembly goes quickly.
- Fold or wave 2 sour strips onto 2 separate picks for each cup. Do not pack the folds tightly; loose curves look more like seaweed and are easier to eat.
- Thread 3 marshmallows onto a pick for each cup. Add 4 star gummies to another pick, then thread 3 sea-life gummies onto a final pick if you have enough room; otherwise tuck the sea gummies directly into the cup.
- Build each candy cup with the marshmallow pick toward the back for height, then add the sour-strip picks and gummy picks around it. Adjust the pieces so the colors are visible without crushing the candy.
- Serve the same day for the best texture. If making ahead, cover the finished cups loosely and keep them at cool room temperature away from heat and humidity.
Candy sizes vary by brand, so treat the quantities as a reliable starting point rather than a rigid rule. Short food-safe picks are easiest for small snack cups. For younger children, remove picks before serving and use age-appropriate candy to reduce choking risk.
NoshParty recipes are carefully researched for clarity, practicality and real-kitchen use. Read about our recipe approach →
Never wonder what to bring again.
Get practical party recipes, seasonal ideas and crowd favorites delivered straight to your inbox.